It is 11 pm, and you've just written code that runs well and passes all the tests. But then you remember your marking guide asks for documentation. Many students lose easy marks here because many Australian units give a clear share of the grade to readability and comments. Good documentation lets your marker see that you really understand your own work and lets them mark faster. So to understand how to document code in a uni programming assignment, we are here with this guide. This covers what to write, where to place it, and how much is enough. First, let’s look at why it matters.
Why Coding Documentation Earns Marks
Tutors read dozens of submissions in one sitting, and most of them look alike. What will differentiate yours from others is clear notes that follow your thinking and explain your code. Many rubrics list code clarity as its own criterion. So, always check your unit outline to see how many marks it carries.
Another reason for documentation is that it protects you. A few weeks later, you may forget why you wrote a tricky loop, but one glance at your notes can bring back everything and save you from guessing. It also shows the logic is yours. Now let’s look at the types of documentation you may need.
The Main Types of Coding Documentation
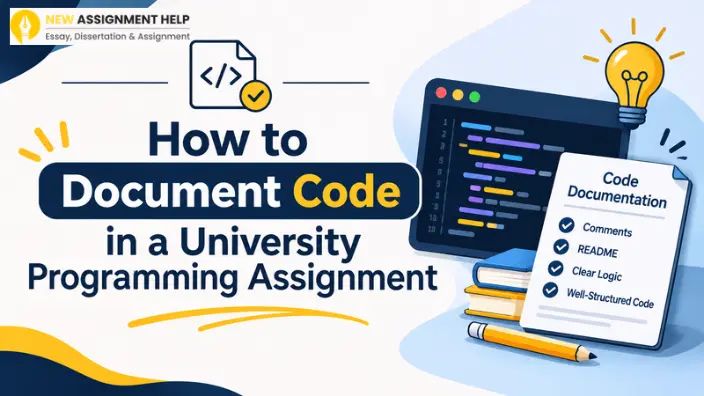
Most programming assignments use a few layers; therefore, we’ve brought you this table that gives you a quick view before we go deeper.
| Type | Where it sits | What it covers |
|---|---|---|
| Header comment | Top of each file | Name, student ID, unit code, purpose |
| Function comment | Above each function | Inputs, outputs, and goals |
| Inline comment | Besides tricky lines | The reason for a step |
| README | Separate file | How to run the programme |
Together, these layers show the big picture and the small details. Next, let’s see how to write the first two well.
Writing Header and Function Comments
For the header comment, start every file with a short block. Add your name, student ID, unit code, assignment number, and date. Then write one or two lines on what the file does. If your professor gives you a template, use it.
Function comments come next. Place one above each function. Say what it does, what it takes in, and what it returns. Python uses docstrings for this. Java uses Javadoc style. Three or four lines are usually enough. After that, you can turn to the comments inside your code, where most students slip.
Inline Comments That Add Value
A good inline comment explains the reason behind a step, whereas a weak one merely repeats the code. For example, i = i + 1 with a note saying “add one to i” tells the reader nothing new. But if you put a note saying “skip the header row in the CSV", it tells them something useful. However, before you add any comment, run it through the following list:
- Does the line hide its purpose? Add a note.
- Did you use a workaround for an edge case? Explain it.
- Did you pick one method over another? Record the reason.
- Is the line obvious? Leave it alone.
These checks keep your file clean and your notes useful. Clear names also carry part of the load, so let’s see how to tackle that
Naming and Layout Choices
Names like “total_marks” and “student_list” explain themselves but names like “x” and “temp1” make readers guess. Pick one style, such as snake_case or camelCase, and use it throughout.
Use steady indentation and leave blank lines between sections. A tidy layout works as silent documentation. Once the code reads well, you can write the file that explains how to run it.
Adding a README and Test Notes
Your tutor may need to run your programme on their own machine. A README gives them the steps to do so without extra effort. Even half a page of documentation is enough here, just make sure that you’re adding the following points:
- The language and version you used
- Any libraries to install
- The commands to run the program
- Known bugs or limits
- A short list of test cases and results
This small file saves your marker time and avoids confusion by showing that you’ve actually tested your work. When everything is documented well, run it through a checklist to be sure of your submission.
Final Checks Before You Submit
Read your code as if you were the tutor. Delete old commented-out code. Fix spelling mistakes in your notes. Make sure each comment still matches the final version, since outdated notes confuse markers. Credit any code or ideas you took from others using your unit’s preferred referencing style. Then run the programme one more time and if everything works well, you’re all set to hit “submit”.
Conclusion
Strong documentation is a habit, and it gets easier with practice. Add your header comment as soon as you create a file. Write a short note above each function while the logic is fresh. Keep inline comments for the tricky parts only. Finish with a clear README and a quick read-through before you submit.
These small steps show your tutor how you think. They also make your code easier to revisit when a later unit builds on it. If you want a second look at your structure or wording, programming assignment writing support is one option to consider here.

 6 Years | MSc Data Science